
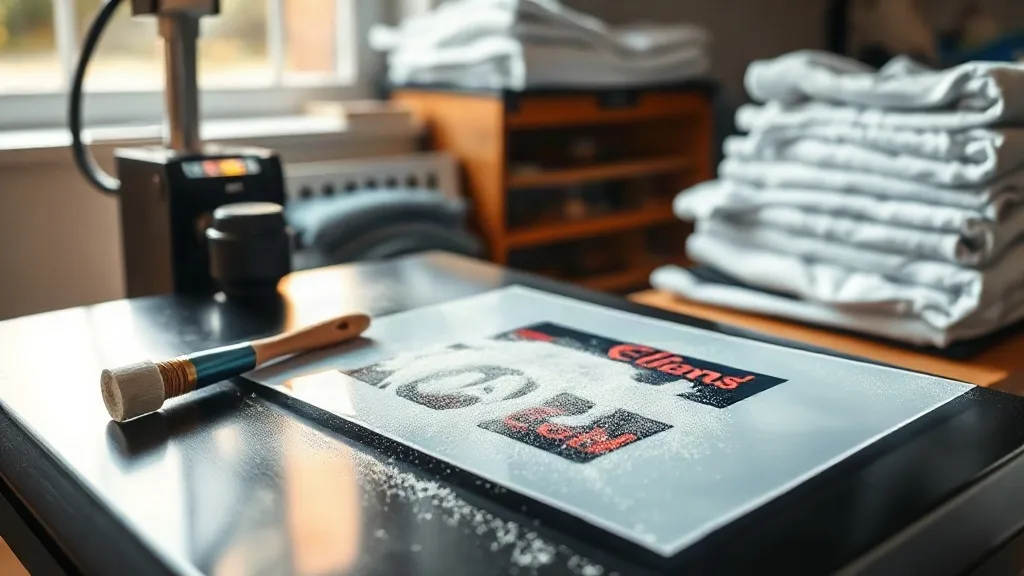
Walk into most small print shops today and you will find the same scene: a heat press that used to sit idle most of the week, a shelf of vinyl rolls nobody wants to cut anymore, and a laptop with a folder full of customer logos waiting for a decision. For a lot of those shops, dtf transfers turned out to be the answer that finally made short-run garment printing feel manageable. Not because the technology is magic, but because it removes the two things that slow small operations down most: setup time and material waste.
This guide is written for the person running the press, not for a trade show brochure. It covers what actually matters when you bring dtf into a working shop: how the process behaves on different fabrics, which settings cause the most reprints, how to price a job so you are not working for free, and what to check before you accept an order you cannot deliver on time.
What DTF Actually Does Differently
Direct to film printing separates two steps that used to be stuck together. The image is printed onto a coated film with water-based pigment inks, dusted with a hot-melt adhesive powder while the ink is still wet, cured, and then stored as a finished transfer. The pressing step is where the film meets the garment, and it happens later, on your schedule. That gap between printing and pressing is the entire value proposition. You can print a batch on Monday, press three of them on Tuesday for a sample, and press the rest on Friday when the shirts finally arrive.
The other practical difference is fabric range. Screen printing and DTG both have strong opinions about what they will accept. DTF is far more relaxed. Cotton, polyester, blends, canvas totes, nylon jackets, and even some coated workwear will take a transfer if you manage the heat correctly. That flexibility is why shops that serve schools, sports teams, and local businesses gravitate toward it. One process covers almost every order that walks in the door.
Where it beats vinyl and where it does not
For one-off names and numbers, cut vinyl is still faster and cheaper. Nobody should be printing a single jersey number as a transfer. But once a design has more than two colors, or once a job requires photographic gradients, vinyl stops making sense and the labor cost climbs fast. DTF handles full-color artwork in a single pass with no color separation and no minimum quantity. A ten-piece order and a hundred-piece order cost roughly the same per unit to produce, which is a big deal for the small-batch custom work that keeps independent shops alive.
Where DTF loses is on very stretchy performance fabrics and on garments that will be washed at industrial temperatures. The adhesive can fatigue. If a customer is ordering for a gym that washes uniforms in hot water with heavy detergent, be honest about the lifespan and consider a different decoration method or a higher-grade powder.
Setting Up Without Burning Money
The entry cost for DTF is lower than most people expect, which is both good and dangerous. It is easy to buy a cheap converted printer and then spend twice the purchase price on film, powder, and reprints caused by a machine that was never built for this workflow. Before you spend anything, decide what volume you realistically expect in the first six months. A shop doing twenty transfers a week does not need the same hardware as one doing three hundred.
The supplies that decide your quality
Three consumables drive almost every quality complaint, and none of them are the printer itself:
- Film. Coated PET film is not interchangeable with cheap alternatives. A poor coating releases unevenly, and you get patchy adhesive transfer that shows up as dull, washed-out prints after the first wash.
- Powder. Fine powder gives smoother detail on small text and thin lines. Coarse powder is more forgiving on large solid areas but can leave a gritty texture on lightweight fabrics. Keep both on the shelf.
- Ink. White ink is the workhorse and the usual culprit when prints look thin. It settles, it clogs, and it needs daily attention. A recirculating white system saves more money in avoided clogs than it costs upfront.
Humidity deserves a mention because it quietly ruins powder. In a dry winter shop, powder picks up static and clings where you do not want it. In a humid summer shop, it clumps and cures unevenly. A cheap hygrometer on the wall and a sealed container for open powder will prevent a surprising number of failed transfers.
Press Settings That Actually Hold Up
Every film and powder combination has its own sweet spot, so treat any published number as a starting point, not a rule. That said, the variables that matter are consistent: temperature, pressure, time, and peel temperature. Get one wrong and the transfer may look perfect on the press and fail after two washes.
A starting point you can adjust from
- Pre-press the garment for a few seconds to remove moisture. Damp fabric traps steam under the transfer and causes bubbling.
- Press at around 150 to 160 degrees Celsius with medium pressure. Too much pressure pushes adhesive into the fabric weave and leaves a stiff hand feel.
- Hold for 10 to 15 seconds. Thin lines need less, large solid blocks need a little more.
- Peel warm or cold depending on your film type. Most modern films are cold peel, and peeling hot is the single most common cause of stretched, distorted graphics.
- Cover with a sheet or parchment and press again for 5 seconds to lock the adhesive into the fibers.
The second press is the step people skip, and it is the step that decides wash durability. If a customer returns a shirt with a lifting corner, the fix is almost always more post-press, not more initial press.
Testing before you promise
Keep a scrap of every fabric you stock and run a wash test on any new combination before quoting a large order. A simple routine works: press a sample, wash it three times at the temperature the customer will realistically use, and check the edges. It takes an afternoon and it has saved more shops from refunds than any sales technique. Photograph the results and keep them in a folder. When a customer asks how long a print will last, you can answer with evidence instead of a guess.
Pricing and Workflow for Real Orders
Newcomers tend to price DTF by the transfer, which undersells the work. Your cost is not just film and powder. It is the design cleanup, the print time, the powder application, the curing, the pressing, the folding, and the customer conversation. Build a price that reflects all of it.
A workable structure is a base setup fee per design plus a per-piece rate that drops at quantity breaks. The setup fee covers artwork preparation and a test press, and it discourages the customer who wants eleven revisions for a twelve-shirt order. Keep the quantity breaks simple: ten, twenty-five, fifty, one hundred. Complicated tiers confuse buyers and slow down quoting.
Gang sheets and batching
One of the practical advantages of film is that small jobs can share a sheet. If you have three customers each ordering four shirts, lay all three designs on one print run, cure once, and cut them apart. The savings in time and wasted film are substantial over a month. Label each transfer with the order number on the backing so nothing gets mixed up during pressing, and store finished transfers flat in a dry drawer rather than rolled in a tube.
For shops fielding walk-in questions, it helps to have a short answer ready when someone asks about dtf transfers near me. In practice, most customers do not care about the process, they care about turnaround and whether the print survives washing. Frame your answer around those two things and the conversation goes much better than a technical explanation.
Common Failures and How to Read Them
Most DTF problems announce themselves in predictable ways, and each symptom points to a specific cause:
- Cracking after washing. Usually under-cured powder or too little post-press. Increase cure time slightly and add the second press.
- Patchy, dull transfer. Often film coating or moisture in the garment. Pre-press the shirt and check your film batch.
- Sticky residue around the design. Excess powder. Shake the film gently before curing and brush off the surplus.
- Faded white areas. White ink starvation. Agitate the white channel and check the recirculation before a big run.
- Transfer lifts at the corners. Insufficient pressure at the edges or a curved seam under the design. Use a pressing pillow for seams and zippers.
Write these down on a card and tape it near the press. New staff will consult it constantly for the first month, and you will stop losing shirts to problems you have already solved once.
Frequently Asked Questions
Can DTF transfers be applied to 100 percent polyester without scorching?
Yes, but you need to lower the temperature and watch the fabric closely. Polyester is sensitive to heat and can glaze or shrink. Press at the lower end of your range, use a pressing sheet between the transfer and the upper platen, and test on a scrap of the actual garment before running the order.
How long can printed transfers sit before they are pressed?
Properly cured transfers stored flat in a dry, dark place will keep for several months. Moisture and heat are the enemies. Keep them away from humid back rooms and direct sunlight, and label them by date so older stock gets used first.
Is DTF cheaper than screen printing for a fifty-shirt order?
It depends on the design. For a one-color logo on fifty shirts, screen printing usually wins on unit cost. For a full-color design with gradients, DTF is typically cheaper at that quantity because there are no screens to burn and no color separations to set up. Run both numbers before quoting.
Why does my transfer look great on the press but crack after the first wash?
Almost always a cure or post-press issue rather than the film. The powder needs enough heat and time to melt fully, and the second press is what pushes adhesive into the fabric fibers. Extend the cure slightly and add the finishing press, then wash test again.
Do I need a special printer, or can I convert an existing one?
Conversions are possible and many shops start there, but they demand more maintenance and more careful white ink management. If you plan to run transfers daily, a machine designed for the workflow will save you time and reprints. If you are testing demand, a conversion is a reasonable first step.
Getting Started Without Overcommitting
The smartest path into this process is a small, controlled test. Buy a modest amount of quality film and powder, print a handful of designs across the fabrics you actually sell, wash them, and photograph the results. If the output holds up and the workflow fits your week, scale up from there. The shops that struggle with dtf are rarely the ones that lacked equipment. They are the ones that skipped the testing phase and discovered the gaps in front of a paying customer.