
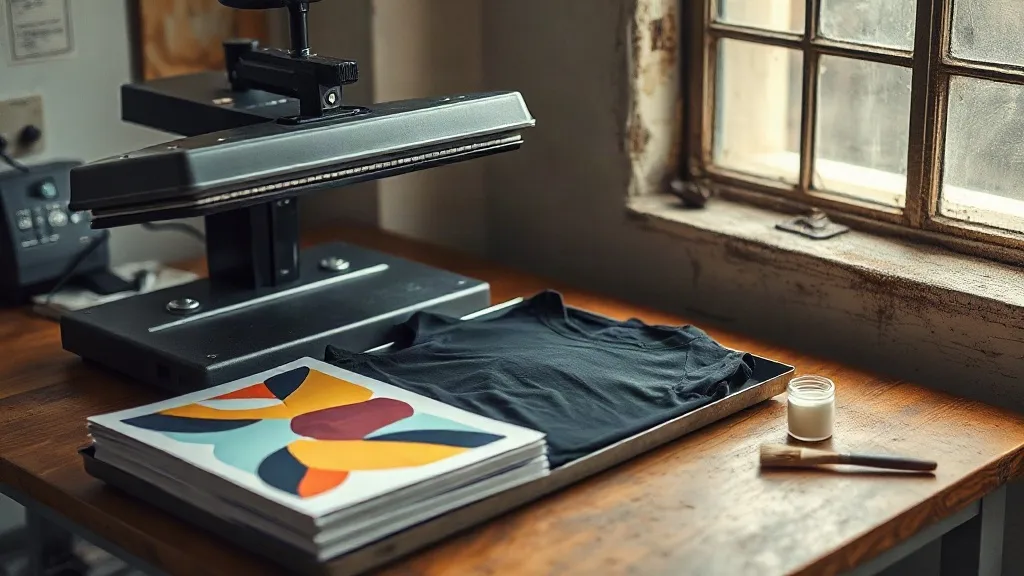
A heat press shows up in the shop, the first roll of film gets loaded, and suddenly everyone has an opinion about dtf transfers. Most of those opinions come from people who printed a dozen shirts and called it research. The real learning curve is quieter than that. It lives in the details: which side of the film peels, how much powder you shake off, whether your press plate is actually flat, and why the same design cracks on a cotton hoodie but survives a 60-degree wash on a polyester jersey.
This guide is written for the person running a two-press operation out of a back room, not a factory floor. If you are deciding whether dtf belongs in your workflow, or you already own the gear and keep fighting inconsistent results, the notes below should save you a few ruined garments and a few uncomfortable customer conversations.
Why DTF Fits the Way Small Shops Actually Work
Screen printing rewards volume. Vinyl rewards simple shapes. Direct-to-garment printing rewards a clean, flat, mostly cotton surface and a machine that behaves. DTF rewards something different: variety. You can print a full-color photographic image, press it onto a nylon jacket, then press the next job onto a 100% cotton tote without changing a single setting beyond time and pressure.
That flexibility is the whole pitch. A shop doing 20 to 60 pieces a day rarely has the luxury of turning down a job because the fabric is wrong for the process. DTF lets you say yes more often, and saying yes is how a small shop builds a client list.
The trade-off nobody mentions upfront
DTF is not a magic replacement for everything. The hand feel on large solid blocks of white ink is heavier than screen print, and the stretch recovery on very thin, high-elastane fabrics is limited. If a customer wants a huge white logo across the chest of a lightweight performance tee, be honest about the trade-off before you take the order. Managing expectations at the quote stage is cheaper than remaking the job.
Film, Powder, and the Two Variables That Ruin Most Prints
Most DTF failures trace back to moisture and powder control. Not the printer, not the RIP software, not the brand of ink.
Moisture is the silent killer
PET film absorbs humidity. Print on damp film and the ink sits on a layer of water instead of bonding to the coating, which shows up later as patchy adhesion or a transfer that peels at the edges after the first wash. If your shop sits in a humid climate, or your film lives in a room that also houses a wash station, store opened rolls in a sealed bag with a desiccant pack. It sounds fussy until you compare two identical prints, one from a fresh roll and one from a roll that sat open for three weeks.
Powder: shake, don't dump
Hot-melt adhesive powder needs to coat the wet ink evenly and then be shaken off aggressively. Excess powder that falls outside the printed area bakes into the film and transfers as a faint haze around your design, which is especially visible on dark garments. A simple habit fixes this: apply powder, lift the film, tap the back firmly over a reclaim tray, then check the film at an angle under a light before curing. If you can see loose powder, keep tapping.
Curing temperature matters as much as the shake. Under-cured powder stays grainy and washes out. Over-cured powder turns glossy and brittle, and brittle adhesive is what cracks along the fold of a sleeve. Follow the powder manufacturer's spec and verify with a small test strip rather than trusting a number you read on a forum.
Press Settings That Actually Hold Up in the Wash
Pressing is where a good print becomes a durable one. The two numbers that matter are pressure and time, and pressure is the one people get wrong because it is invisible.
- Pressure: medium to firm, enough that you can see the fabric texture through the film but not so much that the ink spreads. If your transfers look wider than your design file, you are pressing too hard.
- Time: typically 10 to 15 seconds for the transfer step, depending on your powder and film spec. Longer is not automatically stronger.
- Temperature: usually in the 150 to 165 degrees Celsius range. Verify with an infrared thermometer or a press probe, because dial markings drift.
- Peel: most films are cold or warm peel. Peeling hot is the fastest way to stretch the design out of shape.
One overlooked step: pre-pressing the garment for a few seconds before the transfer. It drives out residual moisture from the fabric and flattens the weave, which gives the adhesive a consistent surface to grab. Skip it on a heavy hoodie and you will notice the difference at the seams.
Second press for a softer hand
After peeling the film, a short second press under a cover sheet or parchment smooths the adhesive into the fabric and noticeably reduces the plastic feel. Ten seconds is usually enough. This single step does more for perceived quality than switching to a more expensive film.
Buying Transfers Instead of Printing Them
Not every shop wants a printer, a shaker, and a curing oven in the same room. Plenty of businesses handle design and pressing in-house and outsource the printing itself. If you are searching for dtf transfers near me because the printer keeps clogging or the powder room is taking over your storage, that is a reasonable pivot. Keep these checks in mind before you commit to a supplier.
- Ask for a sample gang sheet on your own artwork, not their stock design. Stock samples hide registration and fine-detail problems.
- Test wash the sample at 40 degrees, inside out, and inspect the edges. Edge lift shows up first.
- Confirm turnaround and whether they print on demand or batch, because batch schedules can leave you waiting on a rush order.
- Check film width and sheet layout so you are not paying for empty space.
Outsourcing also changes your pricing math. You trade a lower per-unit cost at high volume for a higher per-unit cost with no equipment overhead. For a shop doing 15 to 30 pieces a week, that trade often favors buying transfers.
Storage, Pricing, and the Boring Things That Protect Margins
Printed transfers have a shelf life. Stack them printed side to printed side with a sheet of parchment between, keep them flat, and store them away from heat and direct sun. A transfer that sat in a hot car for an afternoon will press unevenly, and you will blame the film.
On pricing, the mistake small shops make is quoting DTF like vinyl. Vinyl has near-zero material cost per square inch, so a per-piece price feels generous. DTF has real material cost tied to ink coverage and sheet area. Price by area or by a tiered piece count, and build in a small allowance for test prints and reprints. A 5 to 8 percent buffer on quoted jobs covers the occasional bad press without eating your profit.
Finally, keep a log. Garment type, fabric content, press temperature, time, pressure setting, and wash result. Three months of notes will tell you more about your own shop than any general guide, including this one. Every press behaves a little differently, and the log turns that quirk into a known quantity instead of a recurring surprise.
Frequently Asked Questions
Can DTF transfers be applied to 100% cotton shirts?
Yes, and cotton is one of the easier surfaces to work with. The adhesive bonds well to natural fibers, and the print tends to hold up through repeated washing. Pre-press the shirt to remove moisture, use medium to firm pressure, and let the transfer cool before peeling if your film calls for a cold peel.
How many washes should a DTF transfer survive?
With correct powder curing and press settings, most quality transfers hold up for 50 or more home washes. Real-world results depend heavily on wash habits. Turning the garment inside out, using cold water, and skipping the dryer's high heat will extend the life of the print considerably.
Why does my DTF transfer look cracked after the first wash?
Cracking almost always points to under-cured adhesive powder or too little pressure during the transfer step. The adhesive never fully melted into the fabric, so it flexes and splits instead of stretching with the garment. Recheck your powder cure temperature and add a pre-press to the garment before transferring.
Is DTF cheaper than screen printing for small orders?
For orders under roughly 30 pieces, DTF is usually the more economical choice because there are no screen setup costs and no minimum quantity. Screen printing wins on cost per unit once you pass a few dozen pieces of the same design, especially with one or two colors.
Do I need a special press for DTF transfers?
A standard heat press with adjustable temperature, a timer, and controllable pressure handles DTF fine. What matters more than the brand is that the plate is flat and the pressure is even across the surface. A warped plate produces uneven adhesion that shows up as edge lift after washing.