
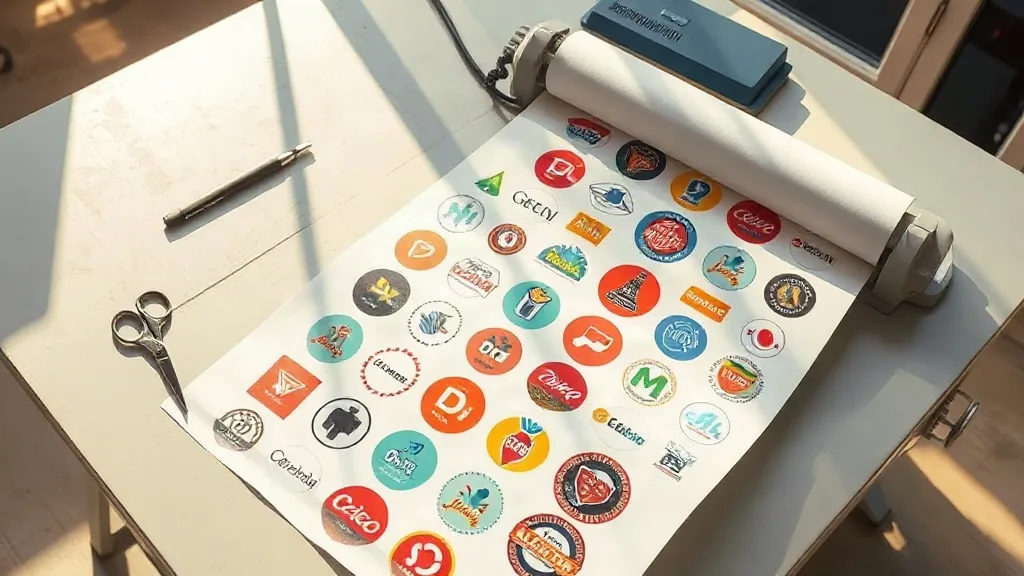
Ask anyone who has run a heat press for a few seasons and they will tell you the same thing: most DTF failures are decided long before the transfer touches the platen. A file with 130 DPI artwork, transfers jammed three millimeters apart, and a rich black that swallowed the cut line will fight you at every stage of the process. The printer does its job; the layout either helps it or sabotages it. This guide walks through the file-side work that separates a DTF Gangsheet that presses cleanly from one that ends up in the scrap bin.
Everything below comes from the practical side of running transfers: what actually breaks on a busy afternoon, and the small habits that keep a gangsheet predictable from the first cut to the fiftieth wash.
Start With the Output, Not the Artwork
Before opening a design, decide three numbers: the film width your printer runs, the maximum print length you can pull without tension problems, and the size of the largest single transfer in the batch. These three numbers define the canvas. A 13-inch film roll and a 22-inch film roll demand completely different layout logic, and a sheet built for the wrong width is wasted before a single drop of ink lands.
Most shops standardize on one or two widths to keep film inventory simple. If you are ordering your gangsheet from a print service rather than running it in-house, check their supported widths and their maximum sheet length first, then build your layout to that exact format. Guessing leads to resized transfers, which leads to blurry edges and disappointed customers.
Leave a real margin
Keep at least 0.25 inches of empty film on every outer edge. Printers need that margin to grip and feed, and cutters need it to sense the edge of the sheet. A transfer printed flush to the border is a transfer that will curl, jam, or get trimmed through the artwork.
Resolution and Color: The Two Settings That Cause the Most Rework
DTF printing is forgiving in some ways and brutally honest in others. It handles gradients and photorealistic images far better than vinyl, but it has no patience for low-resolution source files. Aim for 300 DPI at final print size for anything with fine detail, small text, or tight linework. For large, simple graphics you can often get away with 200 DPI, but below that the halftone dot pattern becomes visible and the white ink layer starts to look grainy.
Color is the second trap. DTF inks sit on a white adhesive layer, which means colors print brighter and more opaque than they look on screen. Two habits fix most color surprises:
- Convert artwork to the printer's expected color profile before exporting, not after. Sample the file on a calibrated monitor and compare against a printed proof once per ink batch.
- Avoid building pure 100% black from all four channels unless you specifically want a heavy, glossy black. A rich black can bleed into fine text and make small lettering look bold and muddy.
If your design uses white text on a dark background, do not rely on the white ink layer to create it. Knock the text out of the background so the base white shows through cleanly. Text built from the white layer alone tends to look chalky and can crack along thin strokes.
Spacing, Nesting, and Why Gaps Matter More Than You Think
The single most common gangsheet mistake is packing transfers too tightly to save film. It feels efficient. It is not. When transfers sit closer than about 0.2 inches apart, the cut path has nowhere to go, and you end up either cutting into a neighboring design or leaving a ragged web of film that tears during weeding.
Give yourself a consistent gutter. A 0.25-inch gap between transfers is a reasonable default for most shops and leaves room for a clean cut line plus a small handling tab. If you are cutting by hand with scissors, go wider, closer to 0.4 inches, because hand cuts drift.
Nest shapes instead of stacking them
Nesting means rotating and interlocking irregular shapes so they share space, rather than lining everything up in a grid. A row of circular logos wastes the corners between them; staggered, those corners hold smaller transfers or a size run of pocket prints. This is where a DTF Gangsheet earns its keep: the same film area carries more sellable output when the layout respects the shapes involved.
One caution: never nest so tightly that two transfers share a cut line. Shared cuts produce transfers with one straight, film-exposed edge that will lift during pressing.
Cut Lines, Registration, and Handling Tabs
Decide early whether your gangsheet will be cut by a plotter or by hand, because the file needs to reflect that choice.
- For plotter cutting, add a dedicated cut layer with a single-color stroke at 0.25 to 0.5 point. Keep it on its own layer, clearly named, and never merge it into the artwork layer.
- For hand cutting, add a light guide line offset slightly outside the artwork so the blade never touches the print. Guides should be thin and low-contrast.
- Add a small registration mark near one corner of the sheet. It helps you align multi-piece jobs and gives you a reference point when trimming.
Handling tabs are an underrated detail. A small unprinted tab on each transfer lets you peel the film without touching the adhesive, which matters on small pieces where fingerprints ruin the press. Add them to anything under about three inches.
Build a Repeatable Layout Template
Shops that produce gangsheets daily do not rebuild the layout every time. They keep a master template with the correct film width, safe margins, gutter spacing, cut layer, and registration mark already in place. New jobs get dropped into the template, and the file is press-ready in minutes instead of an hour.
Version your templates. When you change film suppliers or move to a different printer, the old template may no longer match the feed path. Label templates by film width and printer model so nobody grabs the wrong one on a busy morning.
Name files so the press operator knows what to do
A file called final_final_v3.dtf tells the person at the press nothing. Use a naming pattern that includes the customer or job number, the film width, the quantity of transfers, and the date. It sounds fussy until the day two similar orders land on the same bench.
Proof the Sheet Before You Commit Film
Print a small proof strip of the trickiest elements: the smallest text, the finest gradient, and the thinnest line in the design. A two-inch strip costs a fraction of a full sheet and catches resolution problems, color shifts, and dropout in fine details. Keep the proof next to the press so the operator has a reference for what the finished transfer should look like.
Once the proof passes, print the full sheet, let it cure completely per your powder and oven settings, and store it flat. A gangsheet that is rolled too tightly before curing will develop creases that show up as press marks later.
Frequently Asked Questions
What resolution should artwork be for a DTF Gangsheet?
Aim for 300 DPI at final print size for detailed work, small text, and gradients. Large simple graphics can work at 200 DPI, but going lower makes the halftone pattern visible and gives the white base a grainy texture.
How much space should I leave between transfers on a gangsheet?
About 0.25 inches is a solid default for plotter cutting, and closer to 0.4 inches if you cut by hand. Tighter spacing leaves no room for a clean cut path and often results in torn film or trimmed artwork.
Can I put a cut line in the same layer as my artwork?
No. Keep cut lines on a separate, clearly named layer with a single-color stroke. Merging them into the artwork layer makes it easy for a cutter to read print data as a cut path, which ruins the sheet.
Why does my white text look chalky after pressing?
White text built only from the white ink layer tends to look chalky and can crack on thin strokes. Knock the text out of the background color so the base white shows through, and keep stroke widths above about 1.5 points at final size.
How long can a gangsheet be before printing gets unreliable?
It depends on your printer and film, but many shops cap sheets around 36 to 40 inches to avoid tension and registration drift. Check your printer's stated maximum and test a long sheet before committing to a large order.