
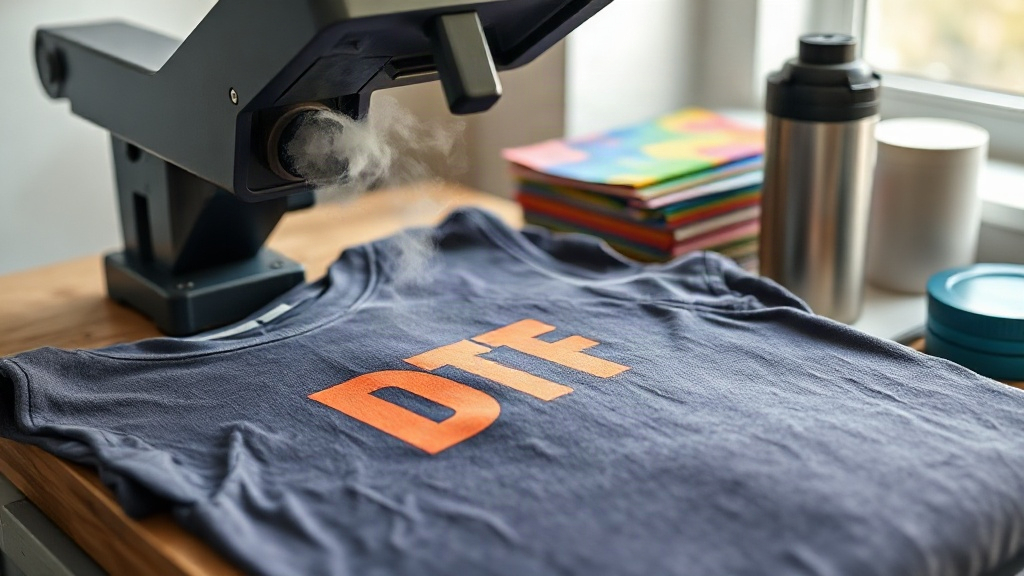
If you've been in the custom apparel game for even a short time, you've likely heard the buzz around DTF Transfers. This technology has rapidly become a favorite for creating vibrant, durable designs on a wide range of fabrics. But what exactly are DTF transfers, and why are they causing such a stir? In this comprehensive guide, we'll dive deep into the world of DTF printing, from the science behind it to practical application tips and tricks. Whether you're a seasoned pro or just starting out, you'll find valuable insights to elevate your custom printing projects.
What Are DTF Transfers?
DTF stands for Direct to Film. Unlike traditional methods like screen printing or vinyl cutting, DTF transfers involve printing your design onto a special film, coating it with a adhesive powder, and then using heat and pressure to transfer it onto your garment. The result is a soft, stretchable, and incredibly durable print that can adhere to almost any fabric, including cotton, polyester, blends, and even treated nylon. This versatility is one of the main reasons DTF has exploded in popularity.
The process begins with a digital printer that uses special DTF inks (typically CMYK plus white) to print the design onto a PET film. After printing, a fine thermoplastic powder is applied to the wet ink. This powder acts as the adhesive that will bond the design to the fabric. The film is then cured, and the transfer is ready to be applied. When you're ready to use it, you simply place the transfer on your garment and apply heat and pressure with a heat press. The powder melts, fusing the ink to the fabric. Once cooled, you peel away the film, leaving a vibrant, washable design.
Why Choose DTF Transfers Over Other Methods?
There are several compelling reasons why DTF transfers have become a go-to solution for many printers and hobbyists:
- Fabric versatility: DTF works on virtually any fabric, including 100% cotton, polyester, cotton-poly blends, and even some synthetics. This eliminates the need for multiple printing methods.
- No weeding or cutting: Unlike heat transfer vinyl (HTV), DTF transfers don't require weeding or cutting. You simply print, powder, cure, and press. This saves an enormous amount of time, especially for complex designs.
- Full-color and photographic designs: DTF can reproduce intricate details, gradients, and photographic images with stunning accuracy. There's no color separation like in screen printing, so you can print unlimited colors in one go.
- Durability: When applied correctly, DTF transfers are highly durable. They resist cracking, peeling, and fading, even after multiple washes.
- Soft hand feel: The prints are thin and flexible, making them comfortable to wear. They don't have the plastic-y feel of some other transfer methods.
These advantages make DTF an excellent choice for small businesses, print-on-demand shops, and anyone looking to create high-quality custom apparel without a steep learning curve.
How to Apply DTF Transfers Like a Pro
Applying DTF transfers is straightforward, but following the right steps is crucial for a professional, long-lasting result. Here's a step-by-step guide:
1. Prepare Your Workspace and Garment
Start with a clean, flat surface. Preheat your heat press to the recommended temperature, usually around 325°F to 350°F (160°C to 175°C). While it's heating, pre-press your garment for a few seconds to remove any moisture and wrinkles. This step is often overlooked but can make a big difference in adhesion.
2. Position the Transfer
Place the DTF transfer on your garment with the printed side facing up (the film side should be against the fabric). If you're unsure, the dull side is the printed side, and the shiny side is the film backing. Use a ruler or measuring tape to ensure it's perfectly centered or positioned as desired.
3. Apply Heat and Pressure
Cover the transfer with a Teflon sheet or parchment paper to protect your heat press. Apply medium to firm pressure for 15 to 20 seconds. The exact time and temperature can vary depending on your press and the transfer manufacturer's recommendations, so always test first.
4. Peel the Film
After pressing, you can either peel the film hot or cold. Most DTF transfers are designed for a cold peel: wait until the transfer cools down completely (about 30 seconds to a minute) before slowly peeling away the film. If the design lifts with the film, it means it wasn't pressed long enough or the pressure was insufficient. In that case, lay the film back down and press again for a few more seconds.
5. Post-Press for Extra Durability
For maximum washability, cover the transferred design with a Teflon sheet and press again for 5 to 10 seconds. This second press helps the adhesive fully set and ensures the edges are sealed.
Common Mistakes to Avoid with DTF Transfers
Even though DTF is forgiving, some common pitfalls can ruin your results. Watch out for these:
- Insufficient pressure: If the pressure is too light, the transfer won't adhere properly, leading to peeling. Make sure your heat press is adjusted correctly.
- Wrong temperature: Too hot and you might scorch the fabric or melt the film; too cold and the adhesive won't activate. Always follow the transfer supplier's guidelines.
- Not pre-pressing: Moisture in the fabric can cause steam pockets that prevent proper adhesion. Always pre-press.
- Peeling too soon: If you peel while hot, the design may stretch or lift. Wait for it to cool.
- Ignoring fabric type: While DTF works on many fabrics, some delicate synthetics may require lower temperatures. Test on a scrap piece first.
By avoiding these mistakes, you'll achieve consistent, professional-looking results every time.
How to Care for DTF-Printed Garments
To keep your DTF transfers looking their best, follow these care instructions:
- Wait at least 24 hours before washing the garment to allow the adhesive to fully cure.
- Turn the garment inside out before washing.
- Machine wash cold with mild detergent. Avoid bleach and fabric softeners.
- Tumble dry on low or hang dry. High heat can cause cracking.
- If ironing is needed, do not iron directly on the print. Use a pressing cloth or iron inside out.
With proper care, your DTF prints will last for years, maintaining their vibrant colors and soft feel.
DTF Transfers vs. Other Printing Methods
Let's compare DTF to some other popular methods:
- DTF vs. HTV: HTV requires weeding and layering, and works best on cotton. DTF is faster for complex designs and works on more fabrics.
- DTF vs. Screen Printing: Screen printing is cost-effective for large orders of simple designs, but DTF wins for small batches and full-color images.
- DTF vs. DTG: DTG (Direct to Garment) is great for 100% cotton but struggles with polyester. DTF adheres well to both and often has a softer feel.
Each method has its place, but DTF's versatility and ease of use make it a standout choice for many.
Frequently Asked Questions About DTF Transfers
Can I use DTF transfers on dark and light fabrics?
Yes, DTF transfers work on both dark and light fabrics. The white ink layer in the transfer ensures the design stands out on dark colors, while on light fabrics, the white layer may be omitted or reduced, depending on the design. Always check with your transfer provider for specific recommendations.
How long do DTF transfers last?
With proper application and care, DTF transfers can last as long as the garment itself. They are resistant to cracking, peeling, and fading. Following the washing instructions will maximize their lifespan.
Do I need a special printer for DTF transfers?
Yes, DTF printing requires a dedicated DTF printer that uses DTF inks and a powder shaker. However, if you don't want to invest in the equipment, you can purchase pre-made DTF transfers from a supplier and apply them with a heat press.
What fabrics can I apply DTF transfers to?
DTF transfers adhere to a wide range of fabrics, including cotton, polyester, blends, spandex, leather, and more. They are not recommended for fabrics with a heavy water-repellent coating or highly textured surfaces like ribbed knits, as adhesion may be compromised.
How do I store unused DTF transfers?
Store unused DTF transfers in a cool, dry place, away from direct sunlight. Keep them flat or rolled, not folded, to prevent creasing. Properly stored, they can last for several months.
DTF transfers have revolutionized the custom apparel industry with their versatility, durability, and ease of use. Whether you're printing your own designs or buying pre-made transfers, understanding the ins and outs of DTF technology will help you achieve stunning results. So go ahead, experiment with different fabrics and designs, and watch your creations come to life with vibrant, long-lasting prints.